The functionality for create an order-receipt taskThe K inventory fleet management application makes it easy to track the status of complete or partial orders received, based on suppliers’ item catalogs.
CREATION OF A RECEPTION FROM ORDERS
1. In the left-hand menu, click on the icon Commands ![]()
2. Go to Order managementclick on the modify icon ![]()
3. In the Interventions tab, click on the Create an order reception
CREATION OF A RECEPTION FROM INTERVENTIONS
1. In the left-hand menu, click on the icon Interventions
2. Click on Create an intervention ![]()
3. Click on Order receipt
4. Complete the information on the Create an order receipt :
- The title of the intervention
- Start date
- End date

Fields of intervention creation
5. To assign tasks to users or user groups, click on Assign tothen click on the ![]()

Selecting the account assigned to the task
6. To carry out an order reception without an item import file, uncheck the check box Import references to receive ![]()
7. Save your changes with the Save
8. Click on the task to enter general information about the receiving operation, Items to be received or click on the icon ![]() and then on the button
and then on the button ![]()
9. In Destination perimeterselect the location to receive the material
- Destination perimeter
- Order (order associated with intervention)
- Supplier
- Order date

Order information
10. Go to List of items to be acceptedclick on the item lines you wish to receive and, if necessary, modify the quantities of one or more items in the case of partial acceptance.

Item selection and quantities
11. Save your changes with the Save
PREPARATION OF RECEPTION PROCEDURE WITH IMPORT FILE
12. In the Manage an order receipt, open the task Import references to be received by clicking on the ![]() icon and then on the
icon and then on the![]()
13. To download the file template, click on the button Download template file
14. Enter the information for the references to be received by completing the mandatory fields in the file.

Import file format for receiving material
15. Drag file into frame Drag the file to be imported or click here from the solution or click on the ![]() icon to select the file
icon to select the file

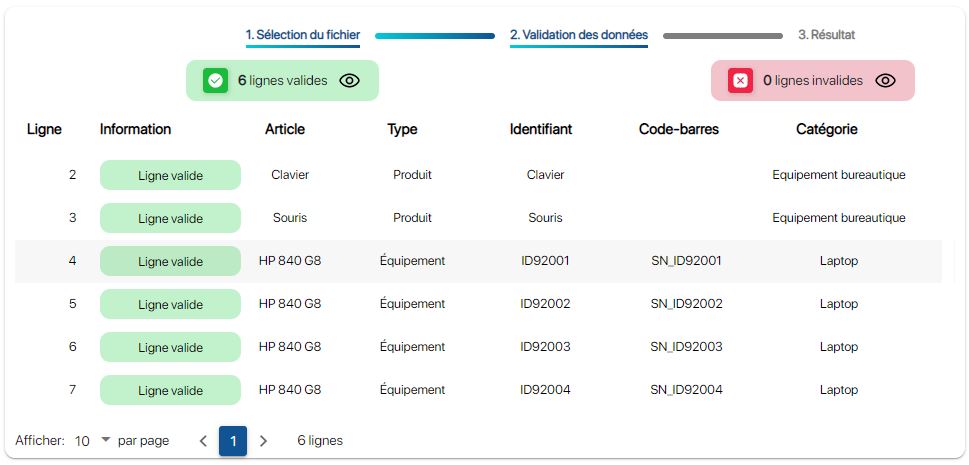
Audit result
16. To validate the import of the new references into the database, click on the button Save
17. To view imported information, in the Order receipt managementpage, click on the Attachments then on the imported file
 Receiving data import file
To continue browsing, here are a few articles related to this page: