K inventory features an automation module with a universal API. Without a single line of code, you can now connect your tools to exchange (receive or send) data between your tools and K inventory.
Let’s take a look at how to connect your tool.
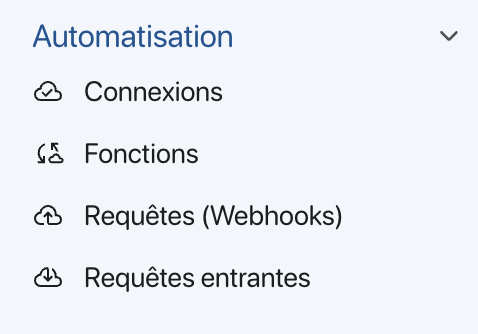
1. In the K inventory menu, select the Parameter tab
2. In the Automation section, click on Connections
3. Click on the Create a connection button
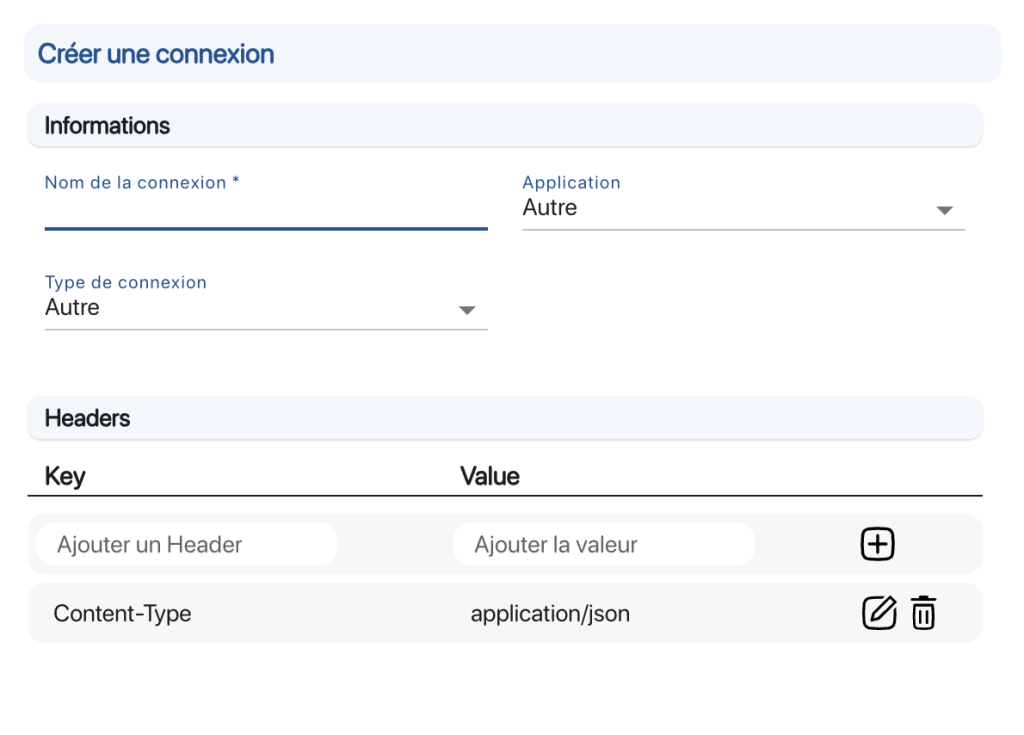
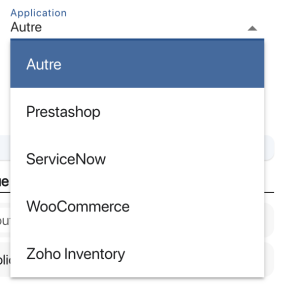
4. You can configure a name for this connection. 5. Then select the application. K inventory connects to all applications. We have compiled a list of applications already predefined in K inventory connections.
6. Now choose the connection type for your application
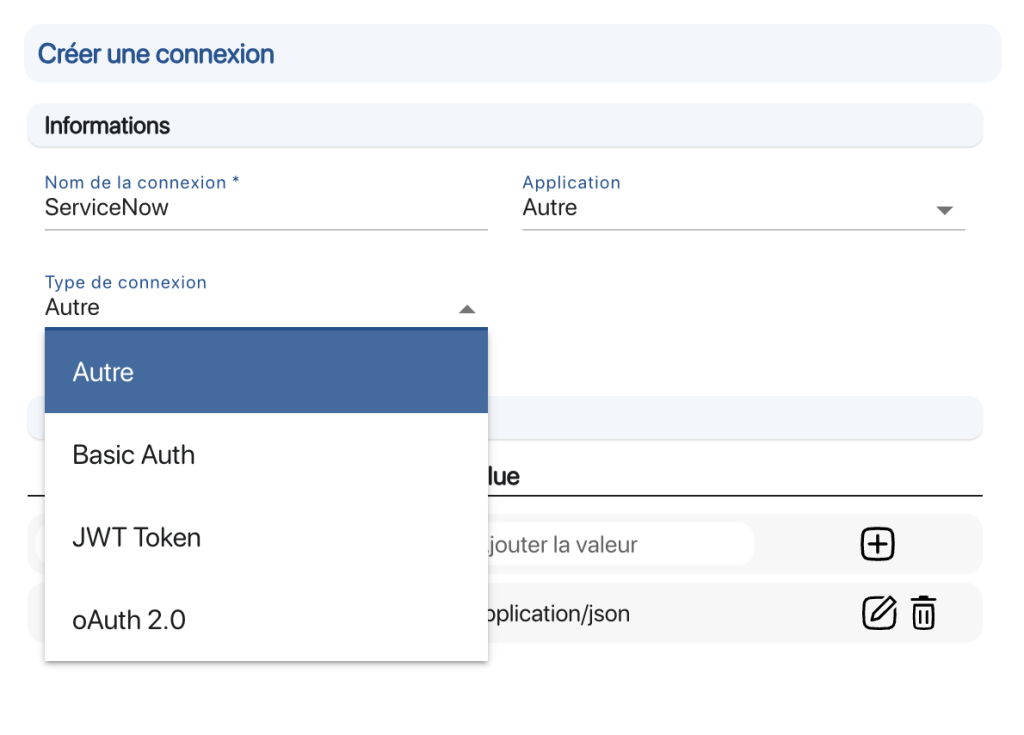
7. In the Option section, enter the information required for connection.
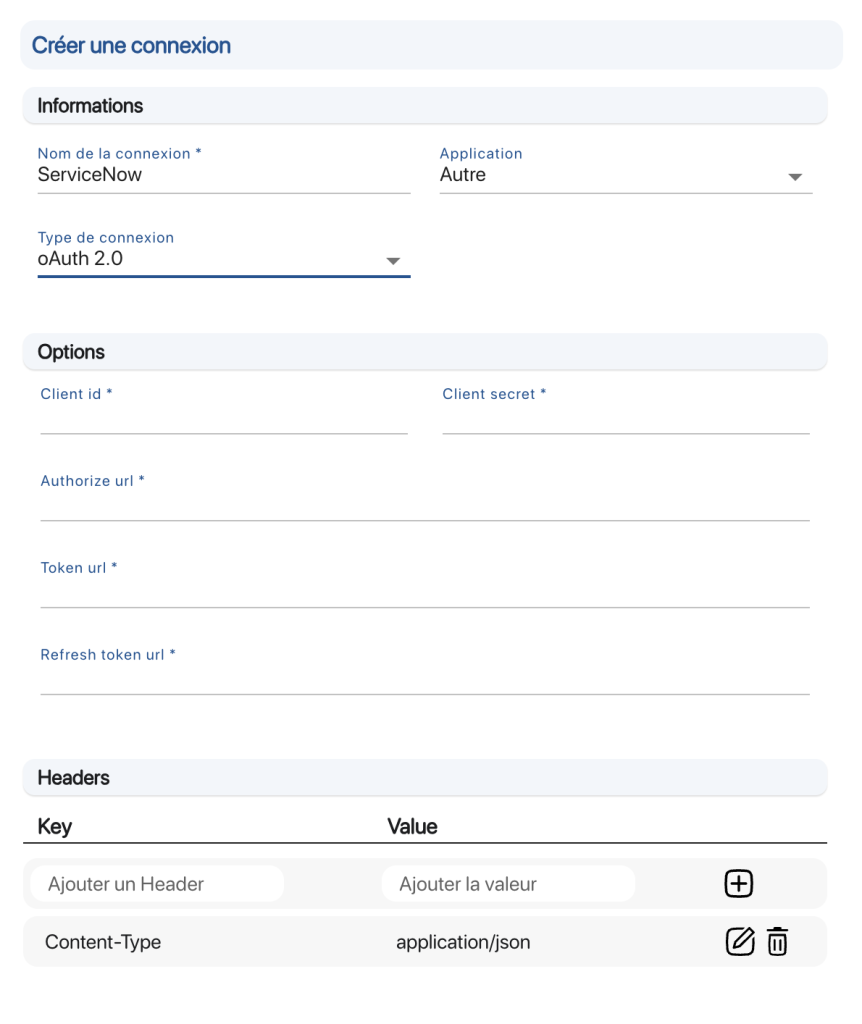
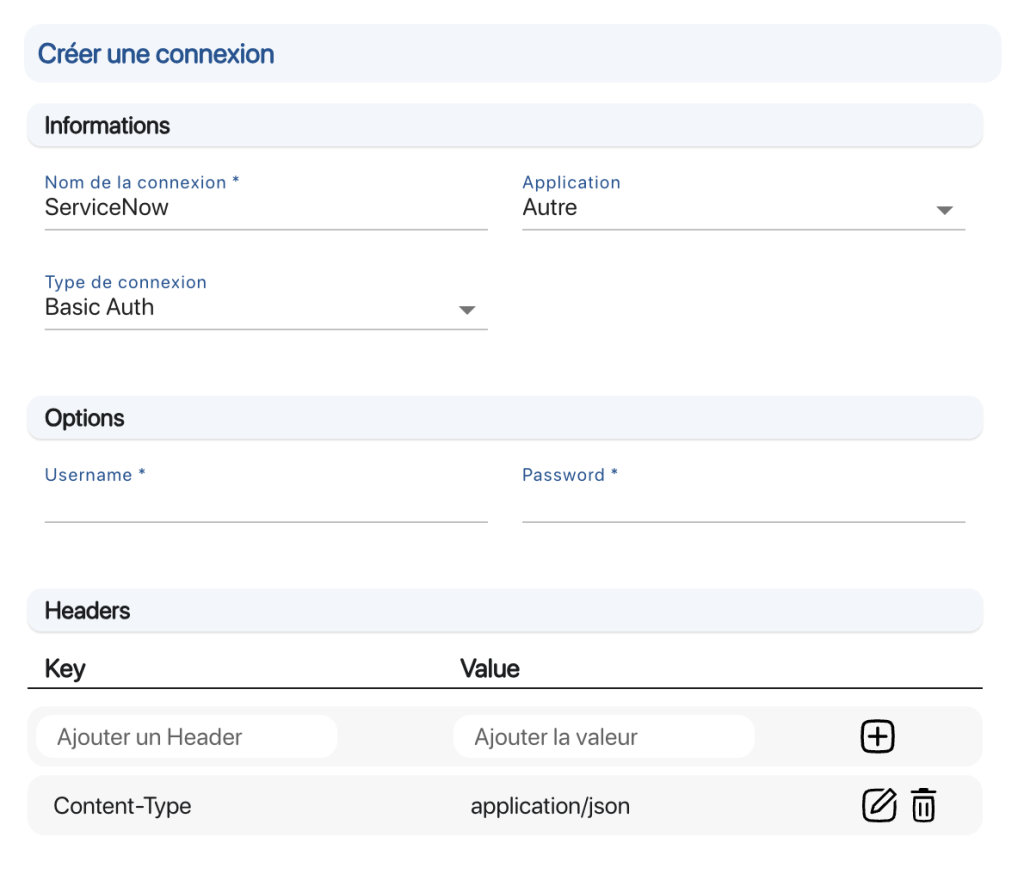
8. In the Headersyou can add additional query parameters. For example, for Api key as the type of connections, you’ll put in the headers section the key ApiKey (the name of the key that will be in the solution that connects to K inventory) and then the value like (apiKey = 232342DGGDGD226Z) or others like User-Agent, Accept-Language, etc. .
9 Press Save and you can now use this connection to create queries with this tool.